Pallet and Salvaged Wood Wall Framed Thermophilic Compost Heap Pile Systems
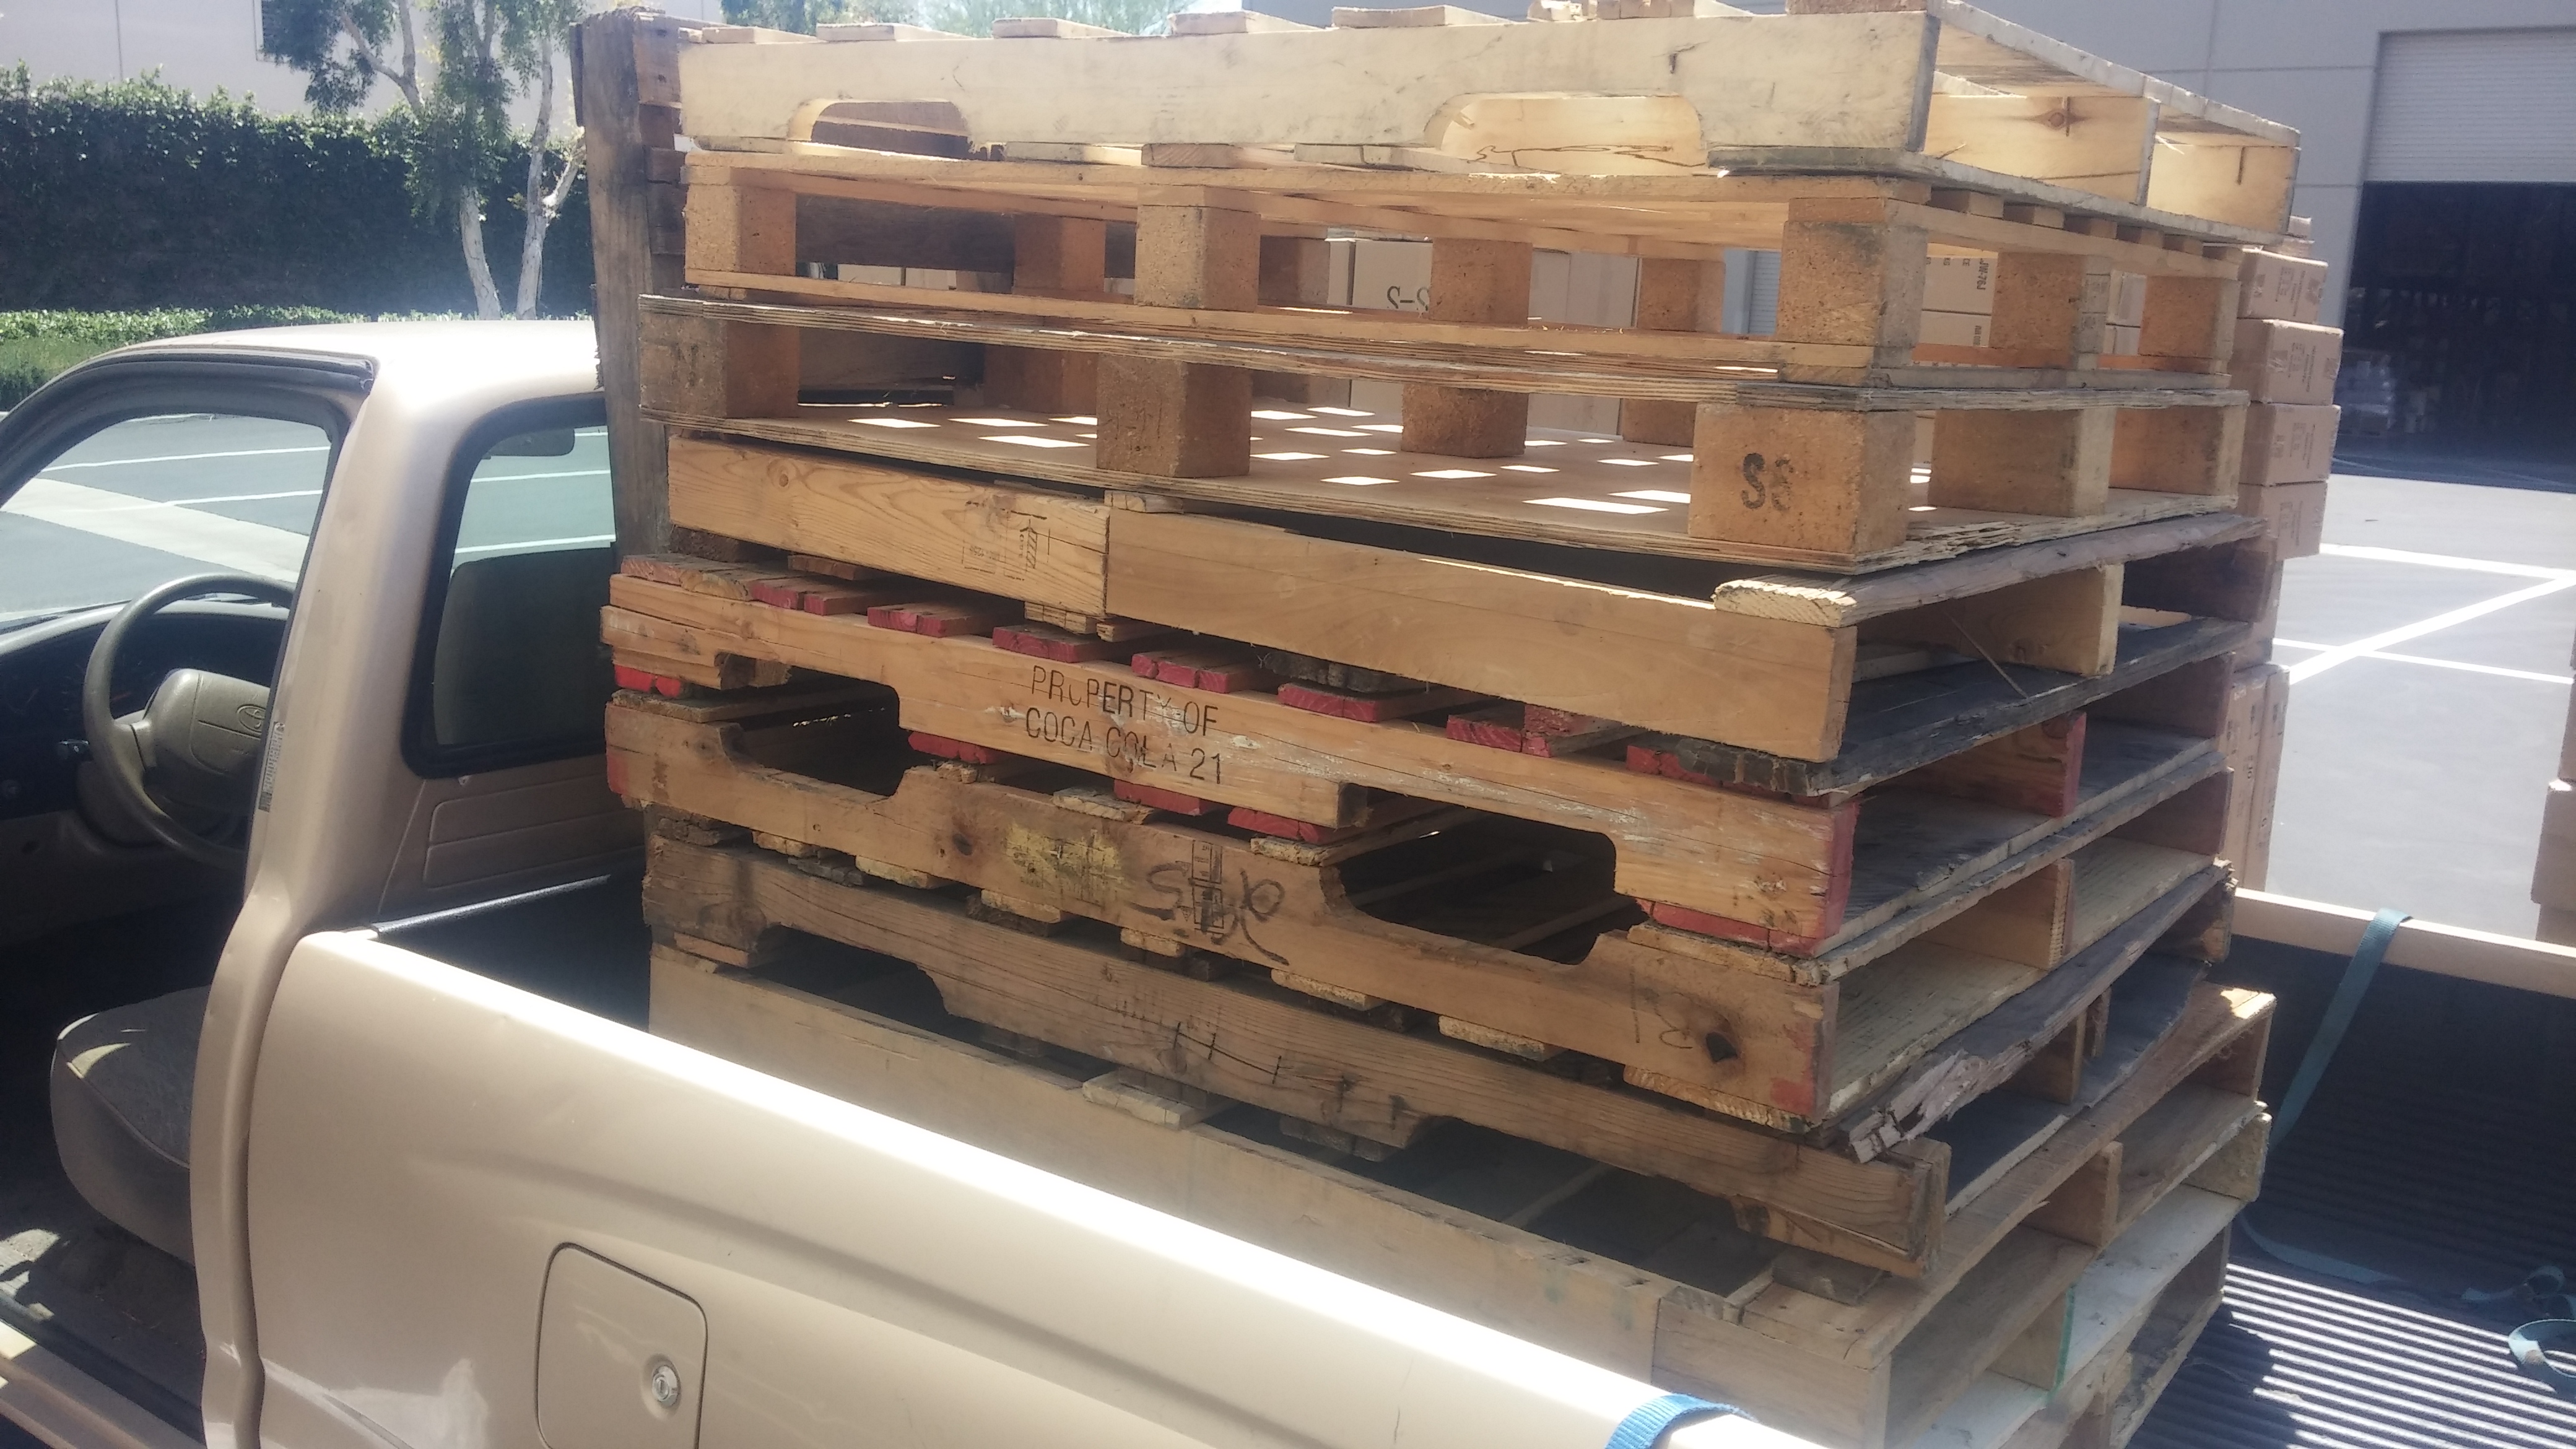
Some people find wood pallets to be unsightly at best and trashy at worst. I however feel they can work well in designs of all kinds. It just depends on how they’re implemented. Structurally, and for the cost which can often be free, they’re hard to beat. I’ve used them for countless applications and have almost never been disappointed. I don’t mind their appearance much, though if and when I choose to mask them, it’s easy enough.
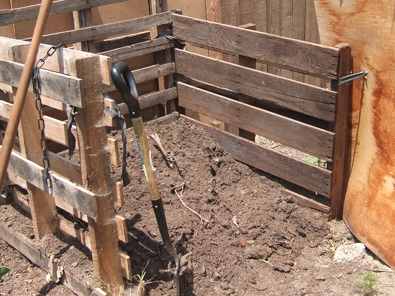
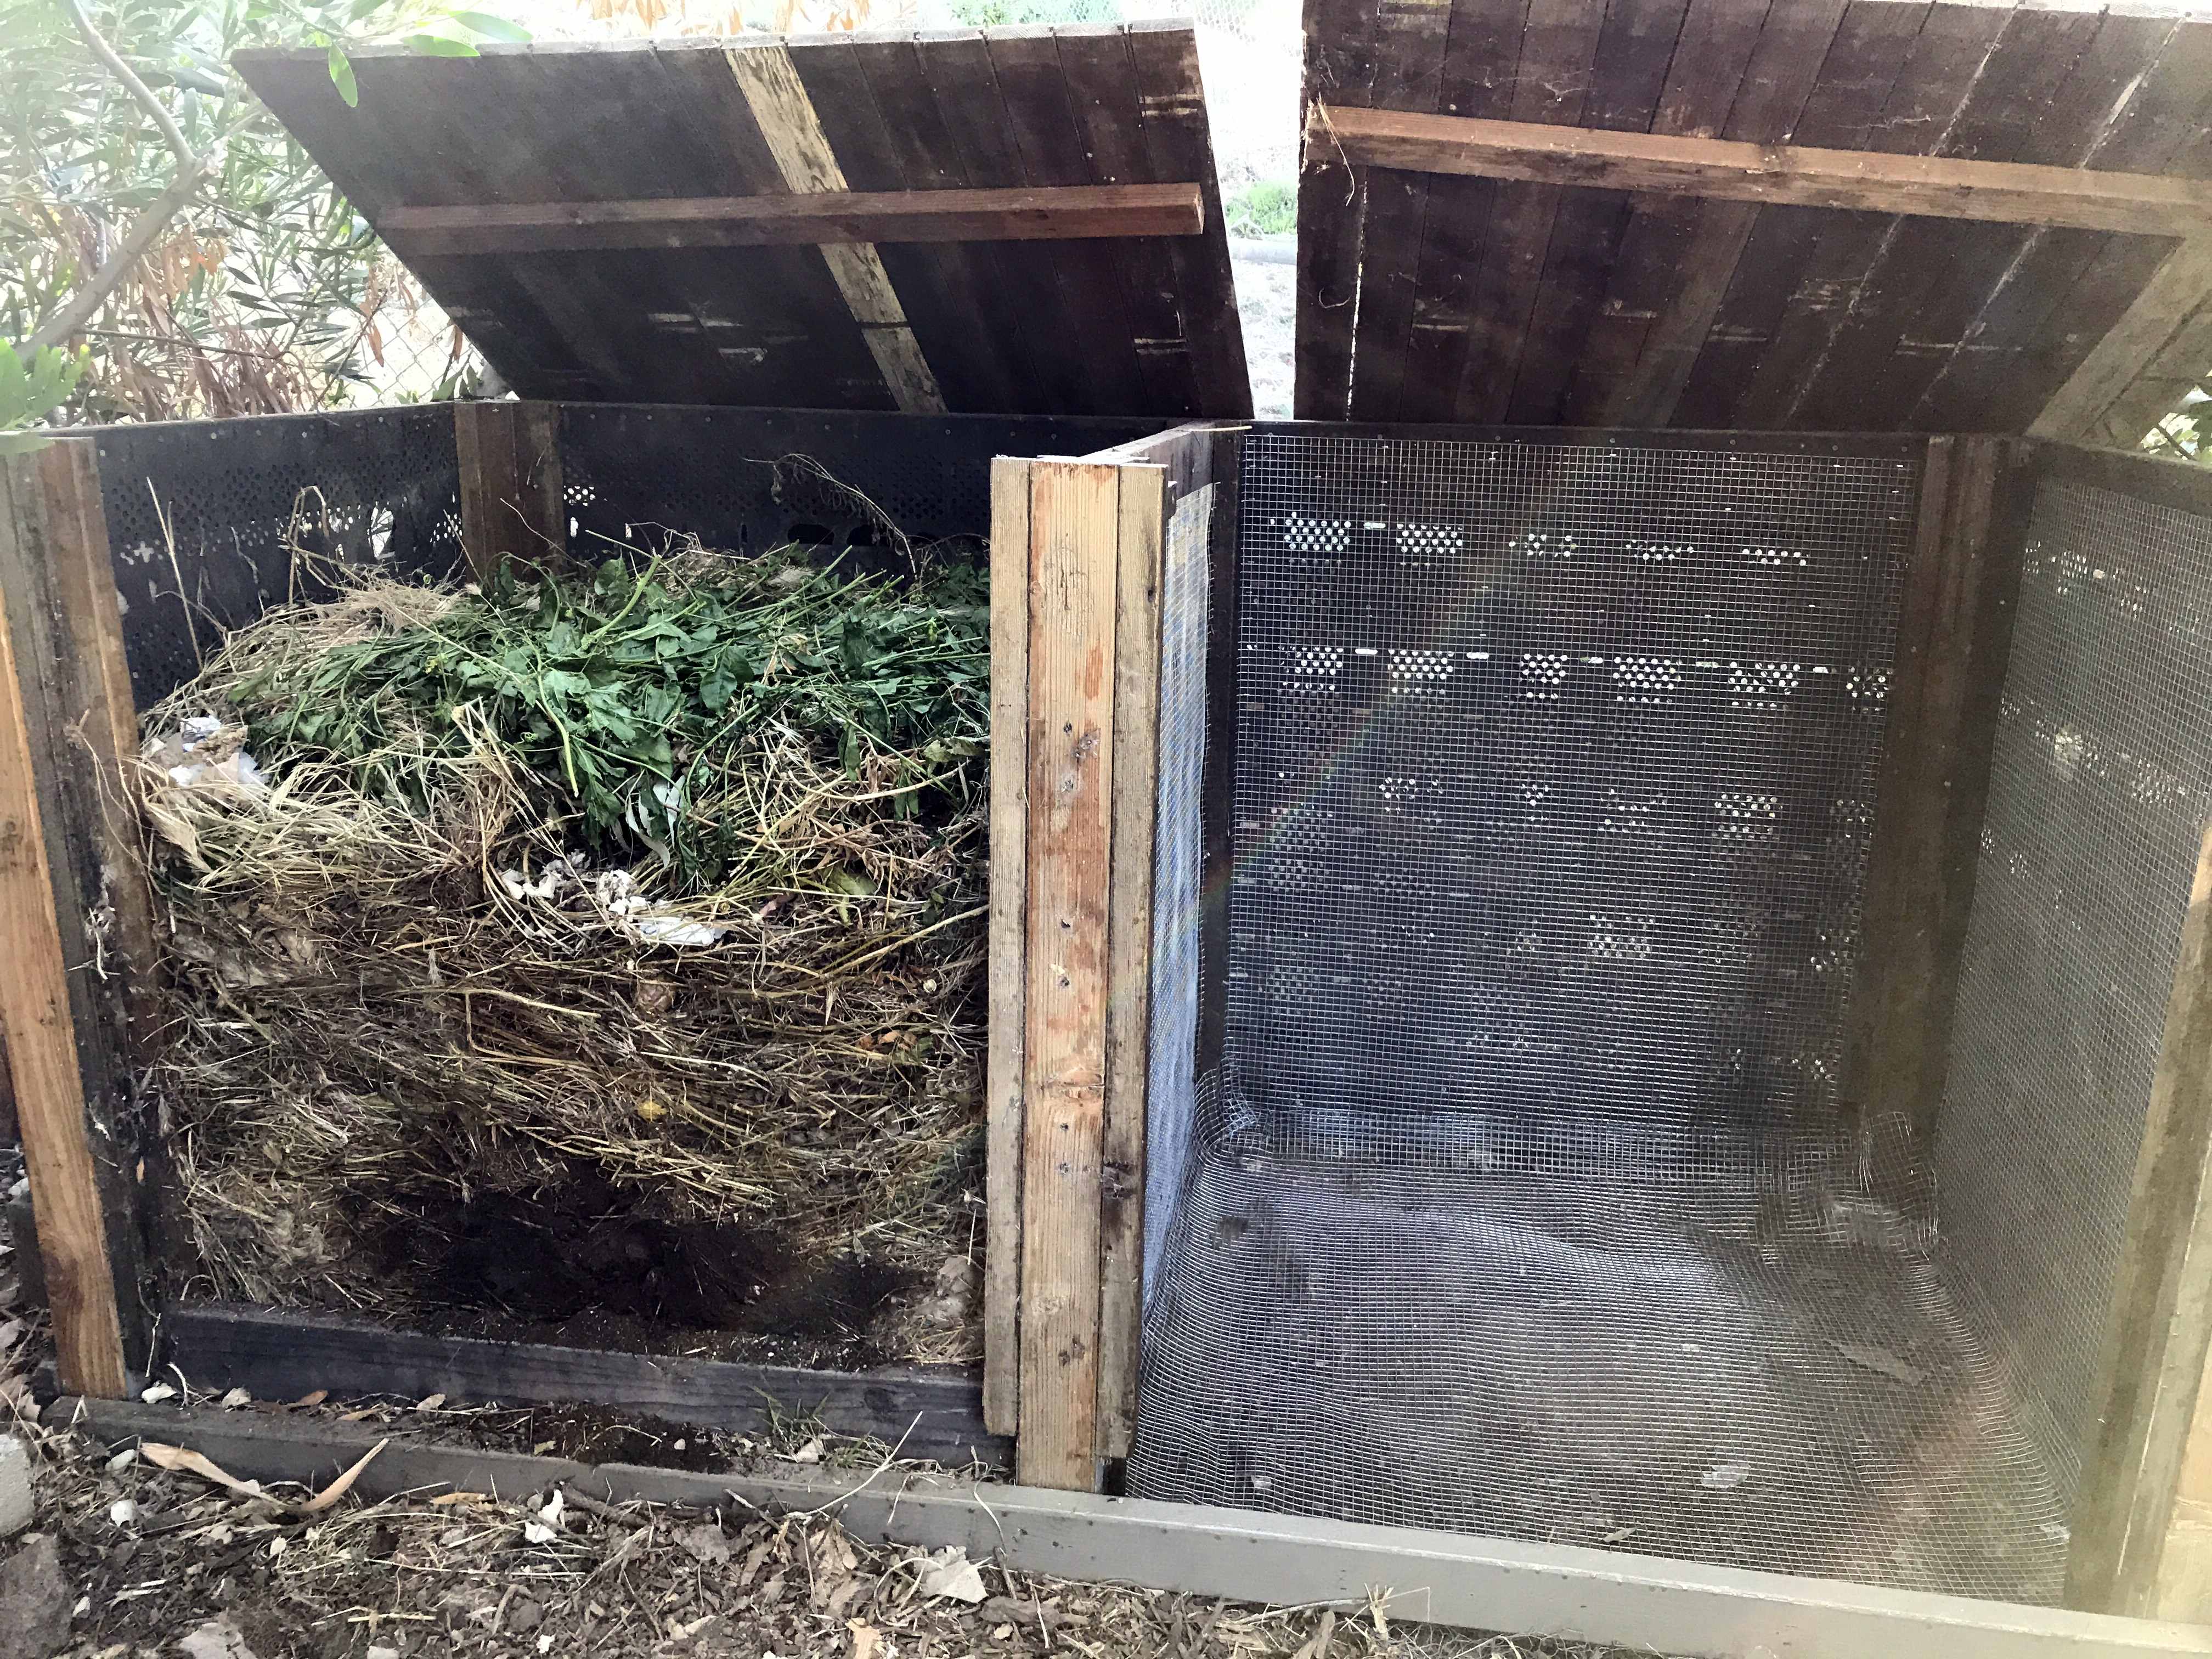
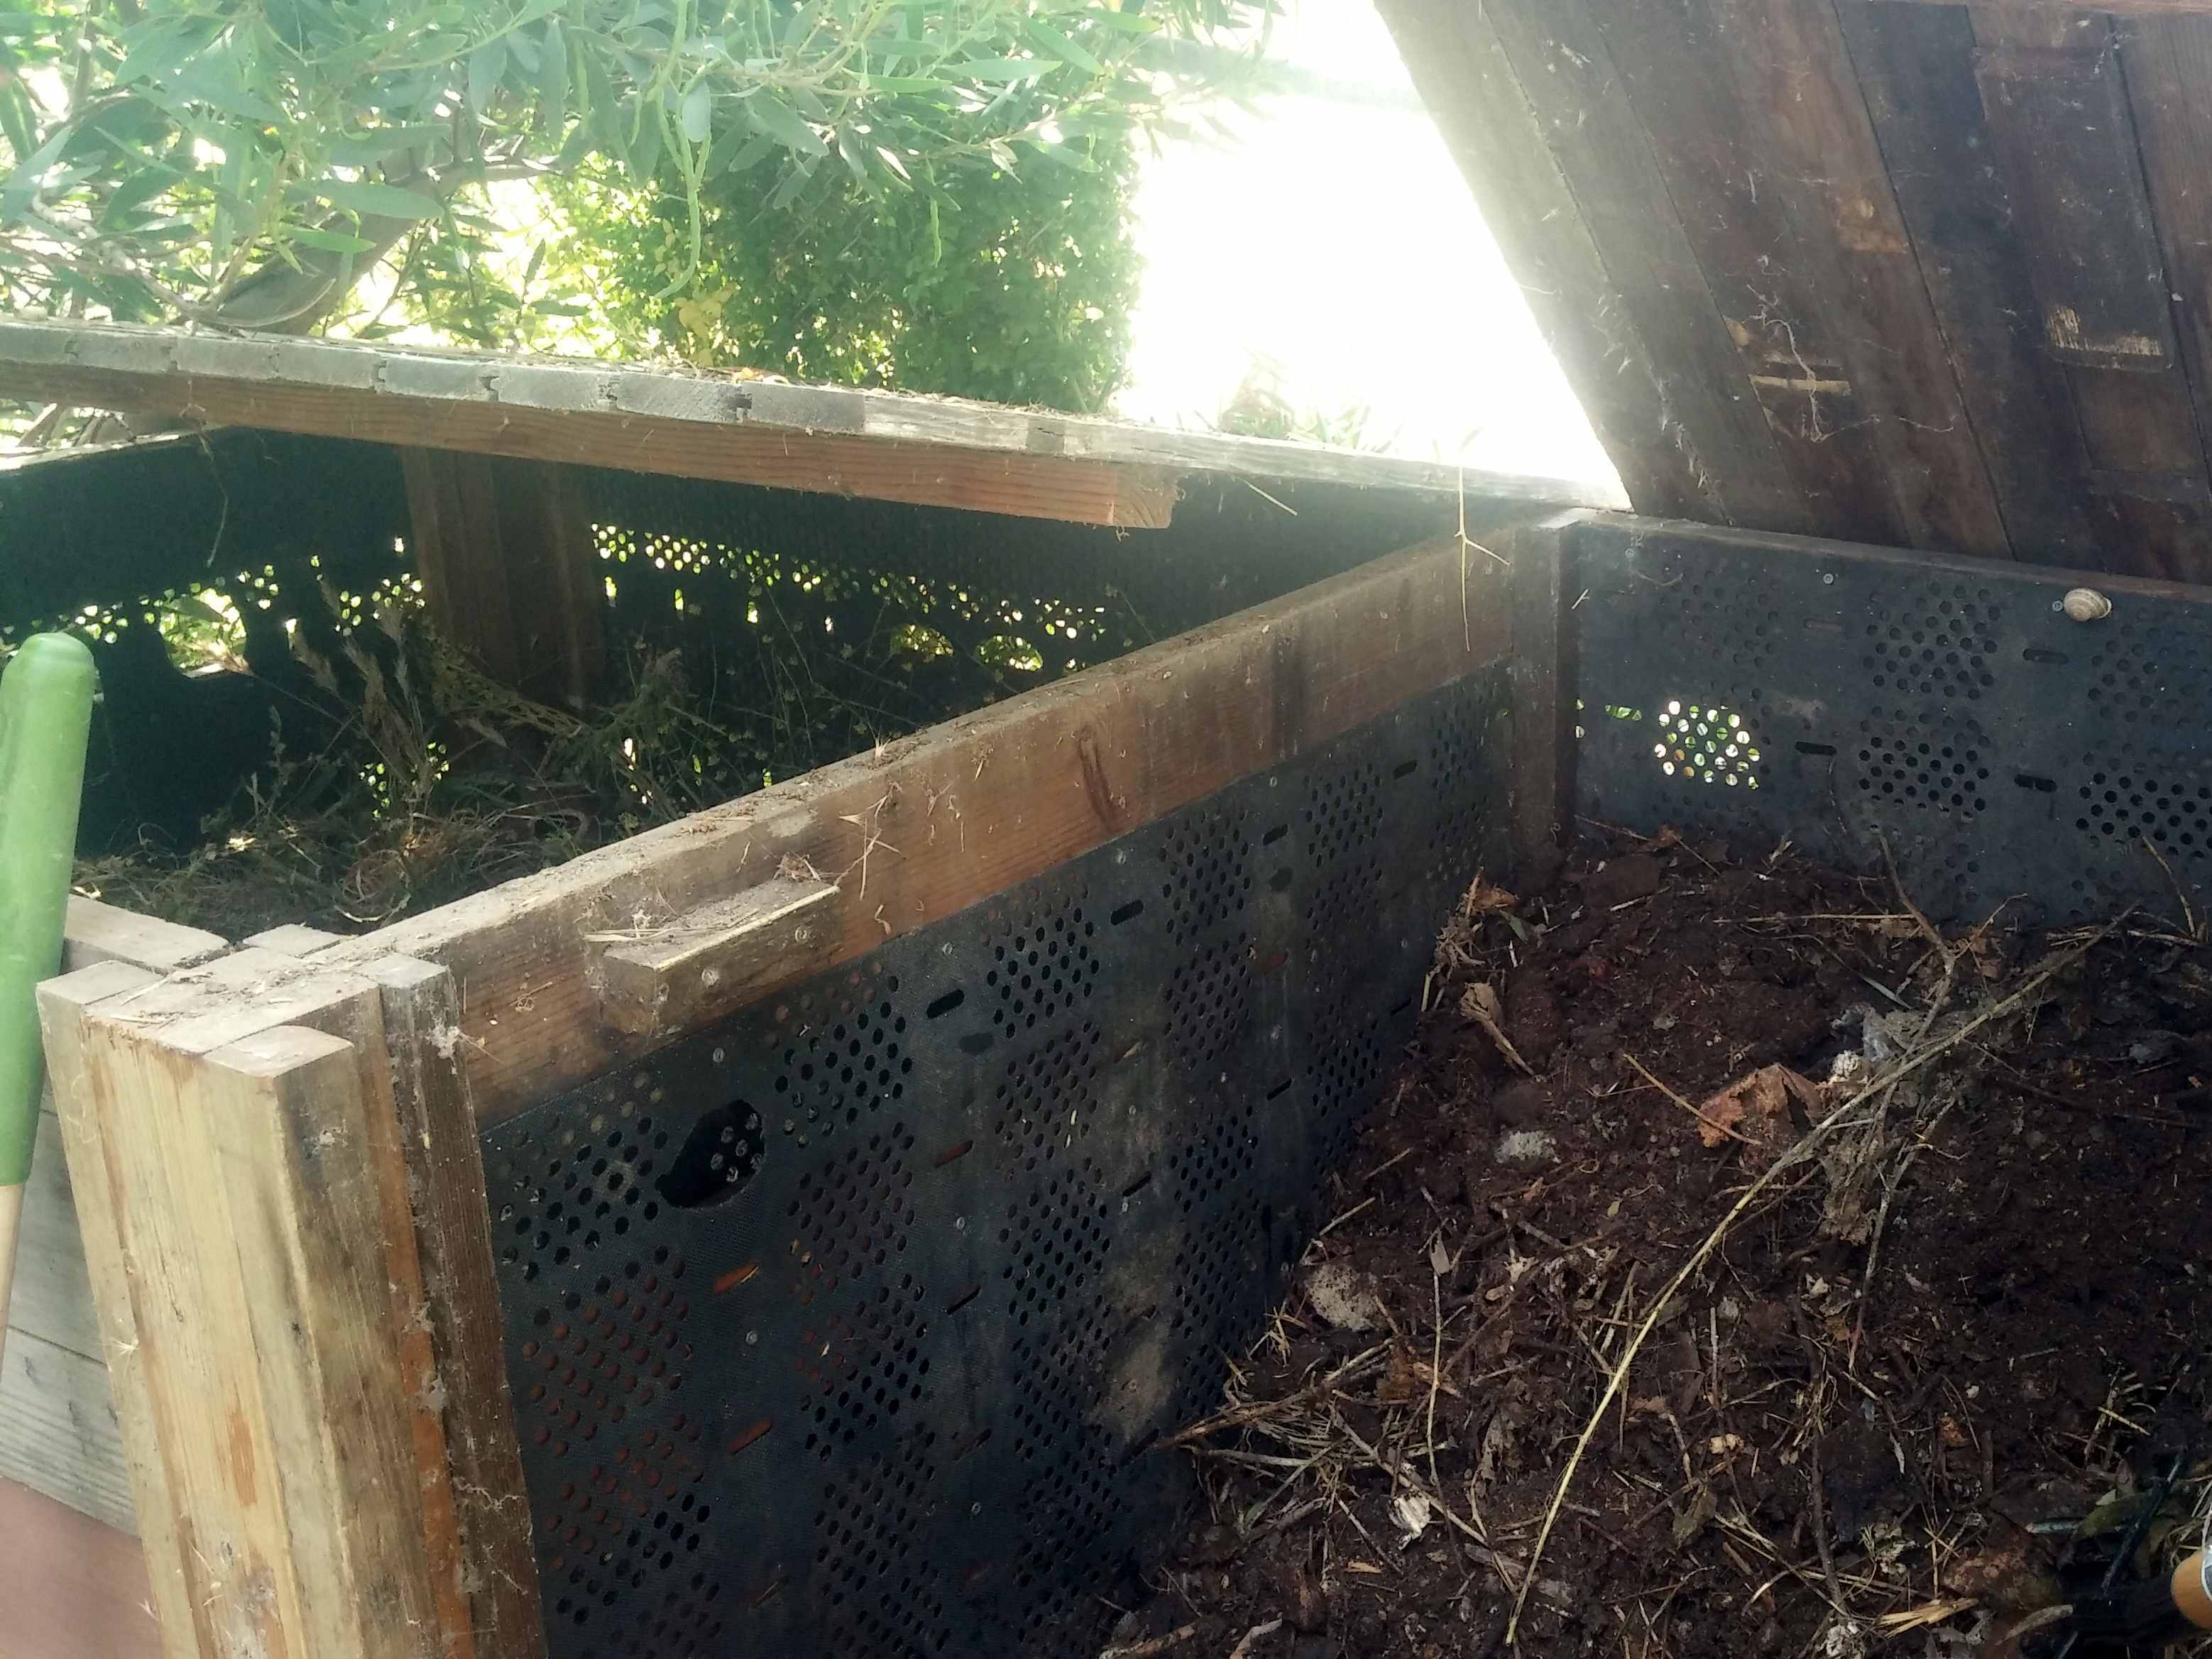
One of the best uses I find myself doing again and again is the simplest compost stall system of just fastening the corners of at least three pallets together to get a 3 walled stall. You can drive stakes or re-bar in the ground a various points and secure them to the pallet frame to anchor it in place. If installed carefully, they hold themselves together against the elements and even a bit of weight. I’ve done single stalls, double, triple, and more. Once the basic pattern is in place, it’s easy to continue it.
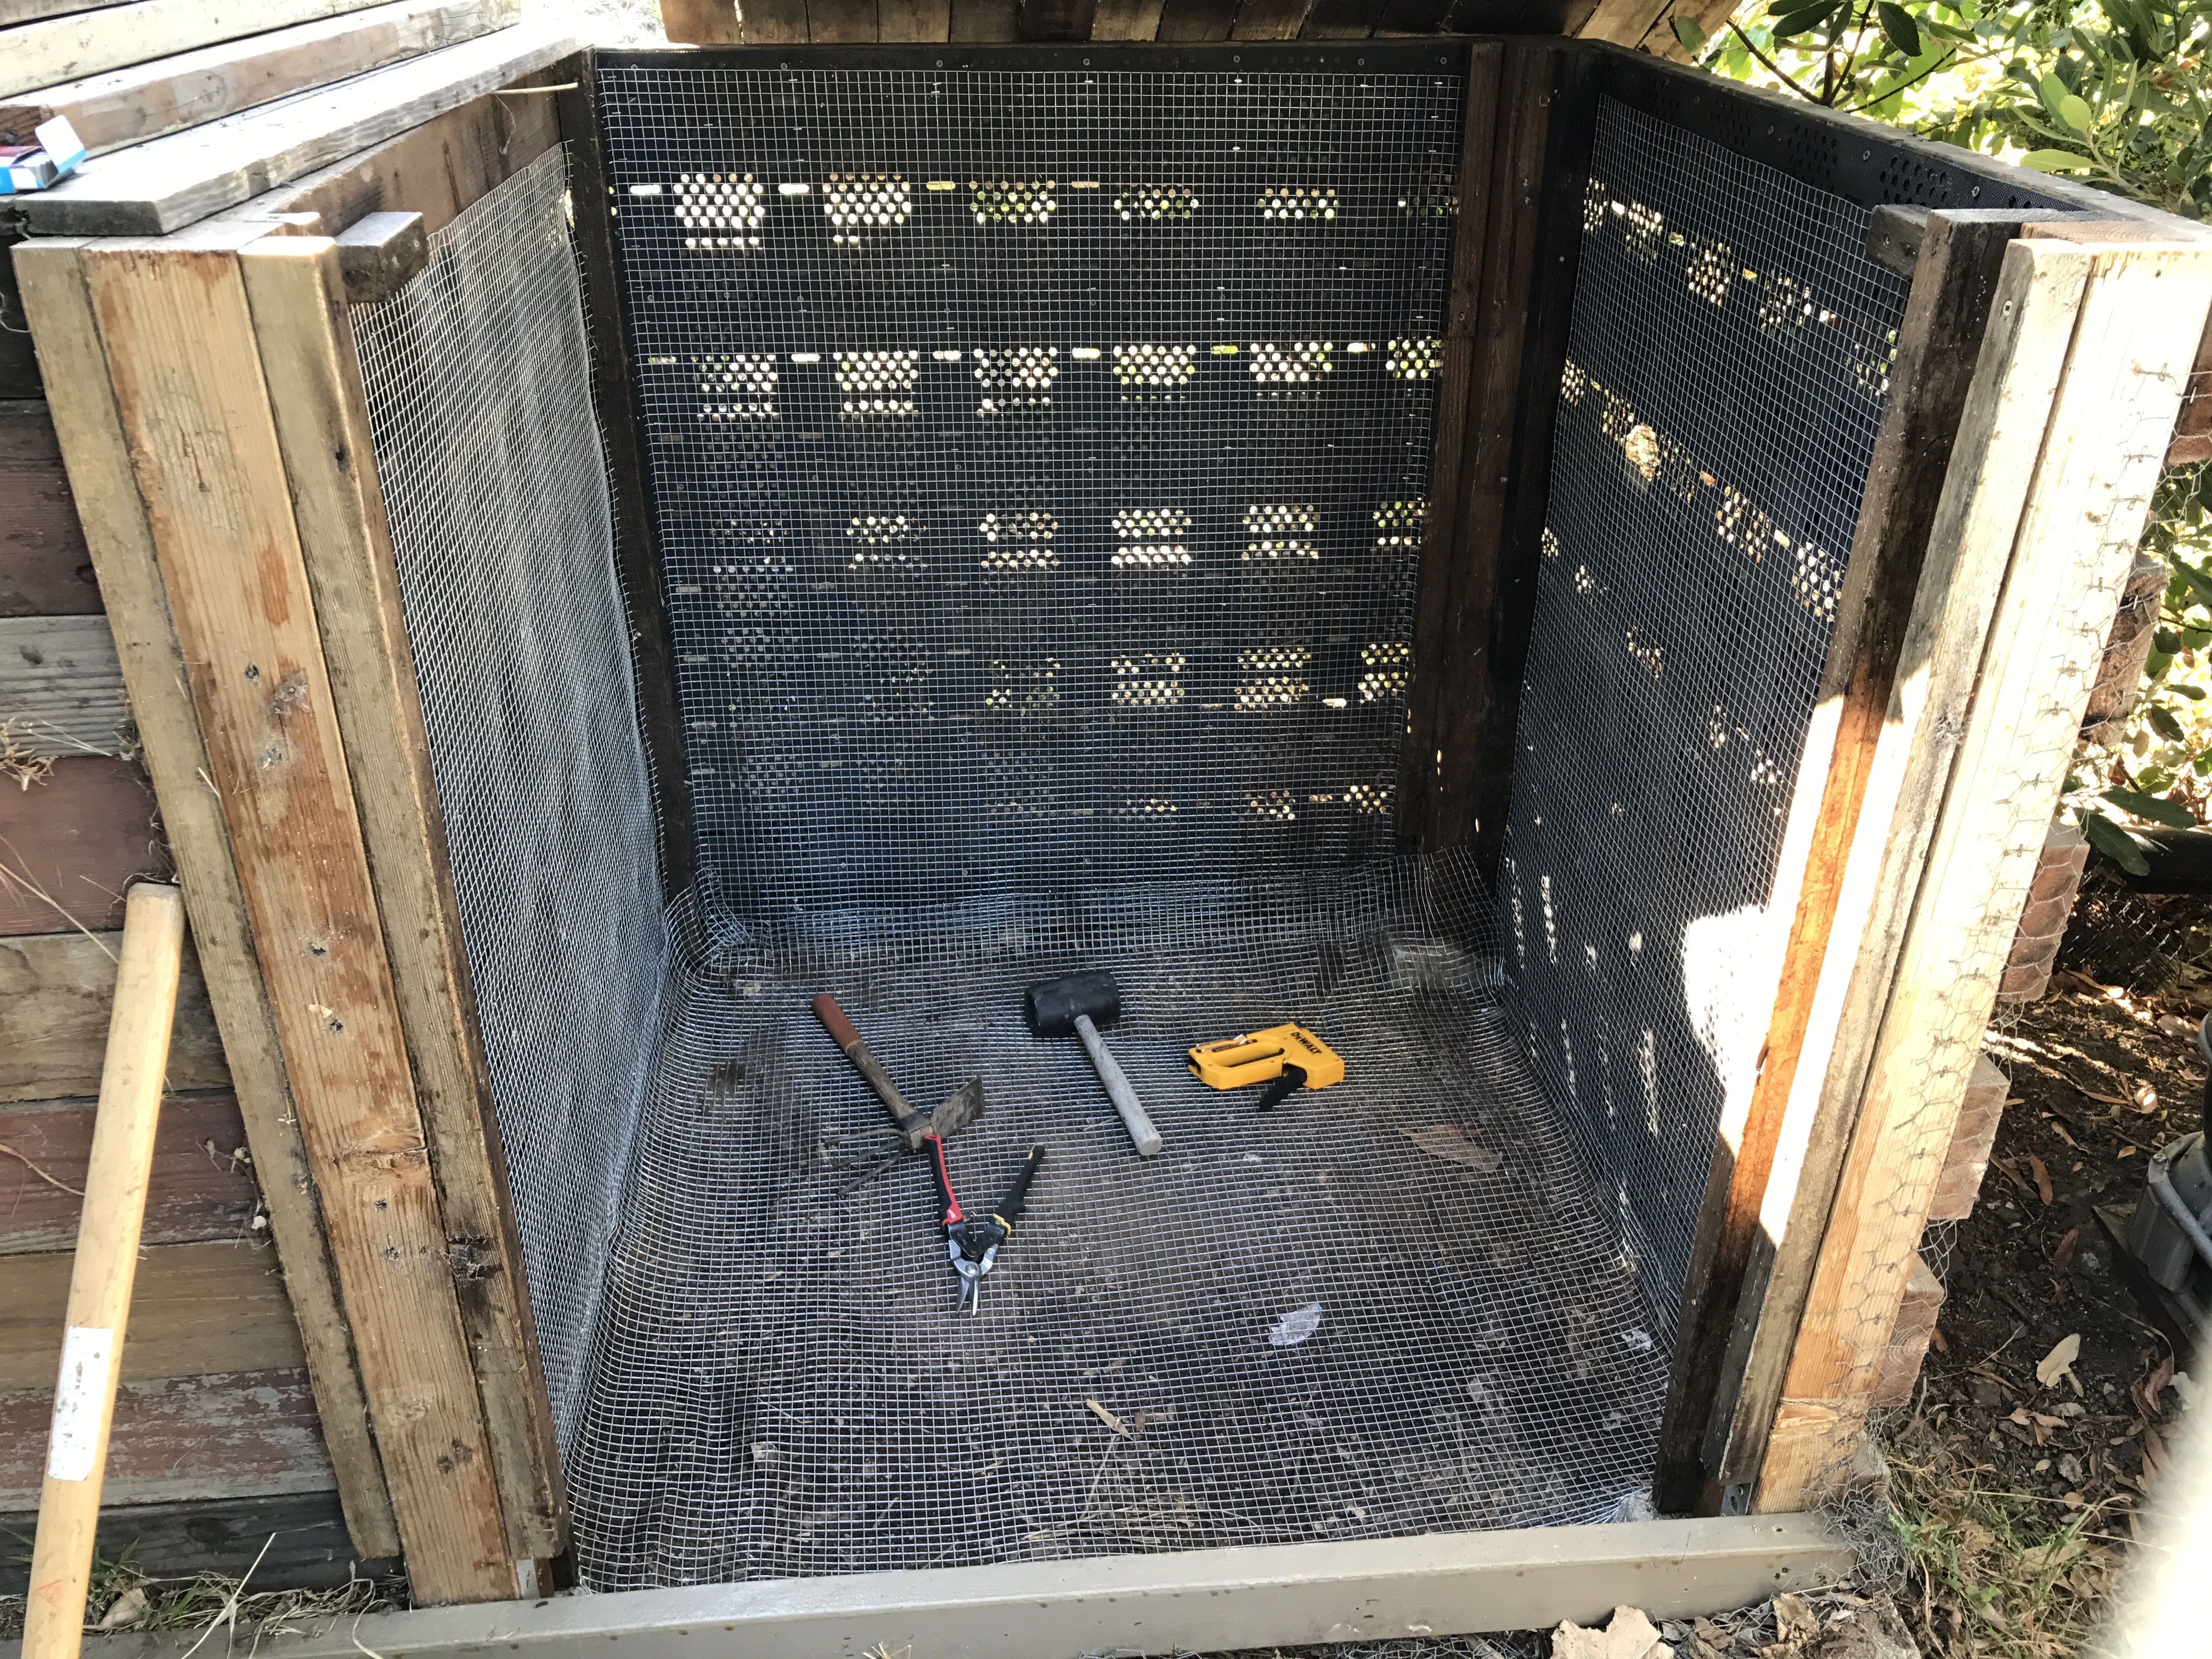
A drawback of using the pallets as-is, is the fact that some of the compost material will inevitably fall in between the slots of wood and therefore get stuck at whatever stage of composting they were at. This of course can be mitigated by stapling up any sort of relatively fine mesh.
In addition to these most simple of systems, I’ve worked on more customized designs built from scratch from salvaged wood. This method lends itself to being more solid and secure by default, yet still worthy of a mesh inlay to block the more persistent rodents, the ones that chew through wood like butter. Also a tight fitting lid or cover is essential if rodent proofing is the goal.
While I’ve started to rely on these systems less and less for small scale urban backyard type gardens, as a decently large worm bin usually manages a kitchen’s green waste stream very well. Whenever there is more than just kitchen scraps to deal with, be it yard clippings, leaf litter, or any other more bulky compostable material, these stalls are great elements in the system. It’s a rewarding and invigorating workout to use a manure fork to turn the piles and rotate them between stalls. You can get very serious with the scientific aspect and be very deliberate about the rate of turning and rotating, core temperature monitoring, moisture level, the ratio of carbon to nitrogen rich materials, etc. The more these factors are fined tuned, the more efficient and higher quality the end product will be. However for the less dedicated, it’s simple enough just to keep them moist, prevent them from getting swamped, turn the piles when you can, and over time things will break down just fine. However you may not successfully kill pathogens and weed seeds if the temperature does not evenly “cook” the pile as it would using the methods listed above.
I’ve had the best results from adding already hot composting materials when I add kitchen scraps, yard clippings, etc. If you can locate a source of free or cheap mulch or compost that is operating at an industrial scale you’re in luck. Chances are that with the heavy equipment processing, the grand size of the piles, the turn over rate and other factors at play, when you get mulch or compost from commercial or municipal suppliers, the materials will be hot to the touch and steaming. So much so that you may have to wait for it to cool before applying it to sensitive garden areas.
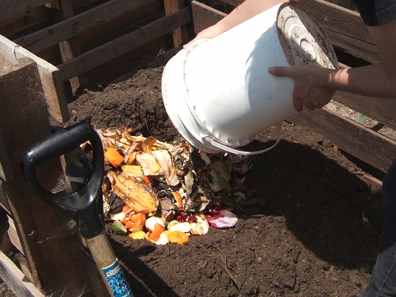
This works in your favor though if composting. It will already be cooking away and will continue on within your pile. At one point I was bringing one nearly full 5 gallon bucket to a pallet compost stall per week. All I’d have to do is dig a pit within the existing pile, dump the bucket, then bury it with fresh cooking compost/mulch and by the next week it would all have disappeared. It was cooked down into compost so fast that only the most stubborn remnants would be left behind.